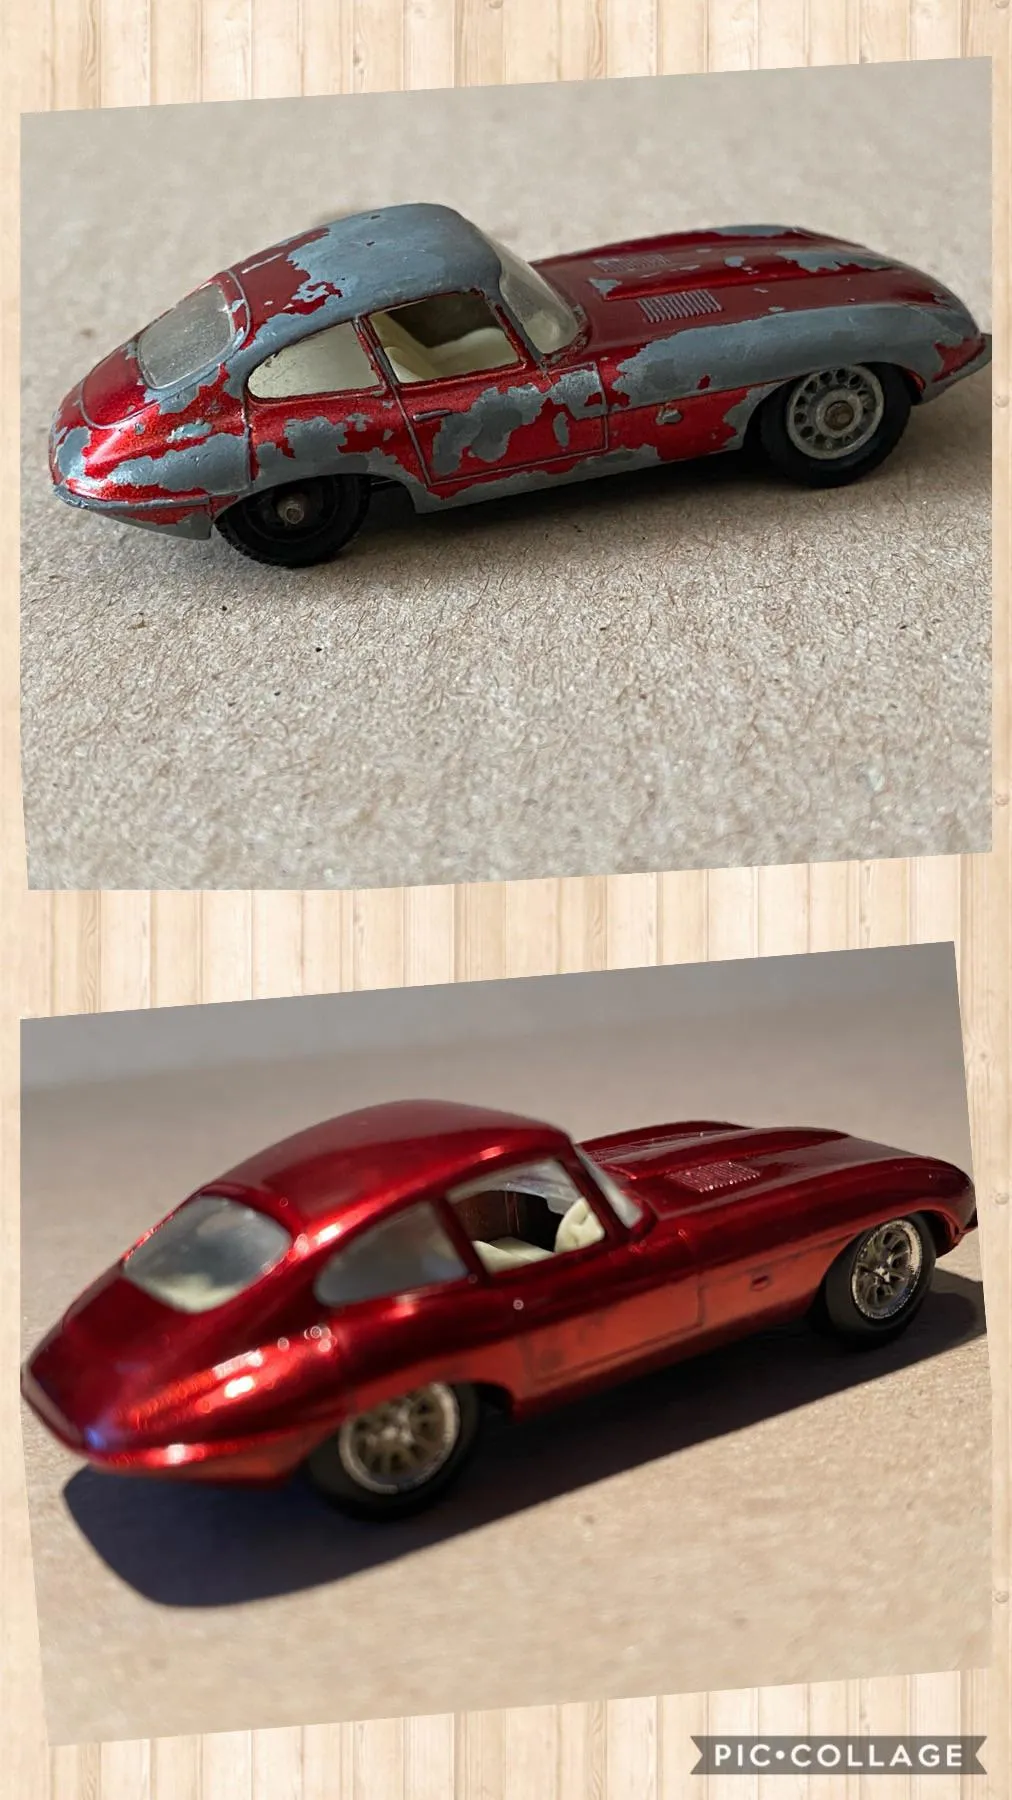
Diecast models are cherished collectibles, representing a passion for automobiles, aircraft, and other vehicles. Over time, these models may suffer from wear and tear, paint degradation, or damage. Learning how to restore diecast models not only breathes new life into these treasures but also offers a rewarding hobby. This ultimate guide will walk you through the entire process, from gathering the necessary tools and materials to the final reassembly, ensuring your models look their best and last for years to come.
What You Need to Restore Diecast Models
Before you start, gather all the necessary tools and supplies. Proper preparation is key to a successful restoration project. This will save you time and frustration later on. It’s also important to create a well-ventilated workspace, as many of the materials used can release fumes. Take your time and ensure you are equipped with the right tools to complete the job safely and efficiently. This investment upfront ensures a smoother, more enjoyable restoration process.
Tools for Diecast Model Restoration
A well-equipped workspace is crucial for a successful restoration project. You will need a variety of tools to handle different aspects of the restoration. These include screwdrivers (both Phillips head and flathead, in various sizes), pliers (needle-nose and regular), hobby knives or X-Acto knives for detailed work, and a cutting mat to protect your work surface. A small hammer and a set of punches can be useful for dislodging stubborn parts. Magnifying glasses or a head-mounted magnifier will aid in seeing the finer details, especially when working with small parts. Finally, have a good quality work light to illuminate your project properly.
Cleaning Supplies
Cleaning is a critical first step. Start with warm, soapy water and a soft-bristled brush to gently remove loose dirt and grime. For stubborn stains, isopropyl alcohol (rubbing alcohol) can be used. Avoid harsh chemicals that could damage the model’s original finish or the materials. Cotton swabs and soft cloths are essential for applying cleaning solutions and wiping surfaces. Use a tack cloth or an air duster to remove any dust or debris before painting. Thorough cleaning ensures that paint adheres properly and that all imperfections are removed, laying a solid foundation for the restoration.
Paints and Finishes
The right paint is crucial for a professional-looking finish. Acrylic paints are a popular choice for diecast models because they dry quickly, are easy to clean up with water, and come in a wide variety of colors. Enamel paints offer excellent durability and are often used for their glossy finish, but they take longer to dry and require the use of solvents for cleanup. Consider the original paint type of the model you’re restoring to match the look. Additionally, primers are necessary to prepare the surface for painting, and clear coats will protect the paint and provide a glossy or matte finish. Always use paints designed for model use for the best results. (Image: diecast model paint.webp)
Disassembly of Your Diecast Model
Disassembly is the first step in the restoration process. This requires patience and careful planning. Before you start, take photos of the model from all angles. These will serve as a visual guide during reassembly. Begin by removing any screws or fasteners that hold the model together. Some models may have snap-fit parts that can be gently pried apart. Keep all the parts organized. Use small containers or labeled bags to store screws, wheels, and other components. This will prevent losing parts and simplify the reassembly process.
Careful Disassembly Techniques
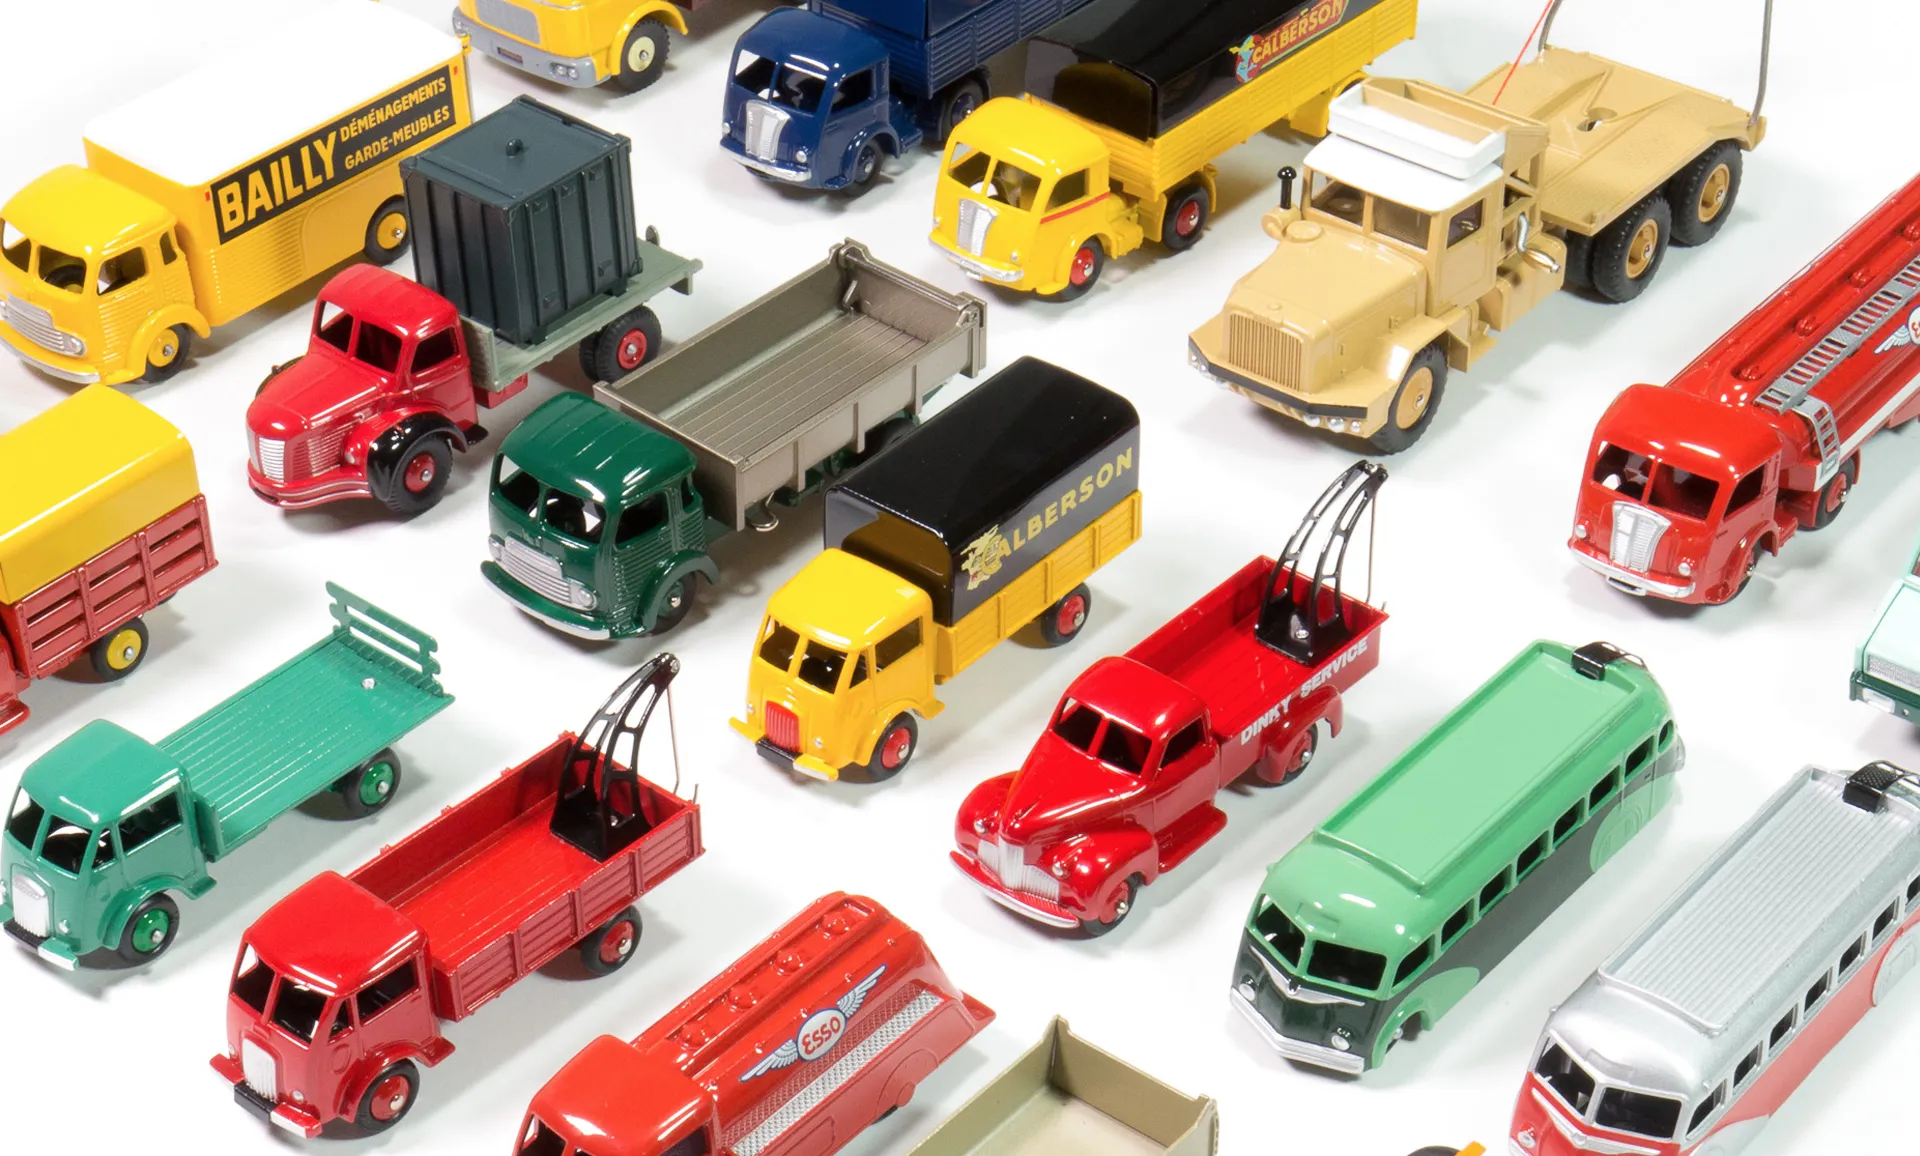
Take your time and work systematically. Use the appropriate screwdrivers to avoid stripping screw heads. If parts are stuck, apply gentle pressure. Avoid forcing anything, as you could break delicate components. For stubborn parts, try applying a small amount of penetrating oil, letting it sit for a few minutes before attempting to remove them again. When separating snap-fit parts, use a hobby knife or a plastic pry tool to gently release the clips. It is better to take your time and preserve all parts than to rush the process.
Removing Old Paint and Detailing
Removing the old paint is crucial for a flawless finish. There are various methods to remove paint, each with its pros and cons. Choose the method that suits the model and your experience level. This step is important to ensure a clean surface for the new paint and allows for accurate detailing and repairs.
Paint Stripping Methods
Chemical paint strippers are effective but require careful handling. Follow the manufacturer’s instructions and use them in a well-ventilated area. Dip the model parts in the stripper, and watch the paint dissolve. Then, use a brush to remove the softened paint. Mechanical methods, such as gentle sandblasting or using a rotary tool with a sanding attachment, are another option. Be careful not to damage the underlying metal or plastic. Soaking parts in a solution of household cleaner or oven cleaner (check that it is safe for the model’s material) can also be effective. Rinse the parts thoroughly after stripping, and dry them completely before moving on to the next step.
Detailing the Model

Detailing involves removing any original decals, emblems, or markings. Use a hobby knife or a plastic scraper to gently lift these from the surface. For raised details, like badges or logos, use a fine brush or toothpick to carefully remove the old paint. This prepares the model for a new coat of paint and ensures a sharp and accurate look. Clean any remaining adhesive residue. Before painting, you can add extra details, like panel lines and rivets, using a scriber or other modeling tools. Pay close attention to reference photos to ensure accuracy. (Image: diecast-model-detailing.webp)
Surface Preparation for Painting
Proper surface preparation is the key to a professional finish. This stage includes cleaning, priming, and filling any imperfections. Taking the time to prepare the surface properly will enhance the paint adhesion and overall appearance of the restored model. Do not skip this stage; the quality of your preparation determines the quality of the end result.
Cleaning and Priming
After stripping the old paint, thoroughly clean the model parts with soap and water to remove any remaining residue. Then, rinse and dry the parts completely. Apply a primer to the surface. The primer serves as a base coat that promotes paint adhesion and covers any minor imperfections. Choose a primer that is compatible with the type of paint you plan to use. Apply the primer in thin, even coats. Allow each coat to dry completely before applying the next one. You may want to lightly sand the primer with fine-grit sandpaper to smooth out any imperfections. (Image: diecast model painting.webp)
Filling Imperfections
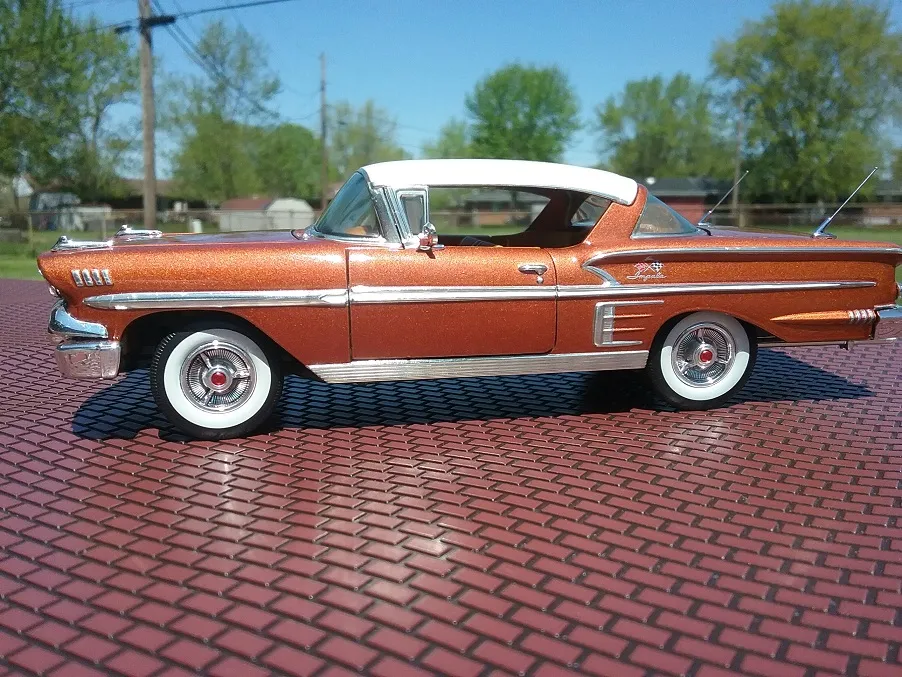
Use a filler, like putty or epoxy, to fill any scratches, dents, or other imperfections in the surface of the model. Apply the filler and let it dry completely. Once dry, sand the filler smooth with fine-grit sandpaper. Be patient and work in small increments, adding more filler as needed. This will provide a smooth surface for painting. Repeat this process until the surface is even and all imperfections are removed.
Painting Techniques for Diecast Models
Choosing the right painting technique depends on your experience and desired finish. Airbrushing offers precise control and a smooth finish. Spray cans provide a more accessible option. The key to success is to apply thin, even coats of paint, allowing each coat to dry properly before applying the next one. (Image: diecast model paint.webp)
Choosing the Right Paint
As mentioned before, acrylic paints are user-friendly and can be thinned with water or acrylic thinner. Enamel paints offer excellent durability and a glossy finish but require more time to dry. Consider the finish you want to achieve (glossy, satin, or matte) when choosing your paint. Match the paint color to the original color of the model or to your desired look. Research the original paint codes if you want a perfect match. Consider buying from the same brand and range to make sure the color is consistent.
Airbrushing vs. Spraying
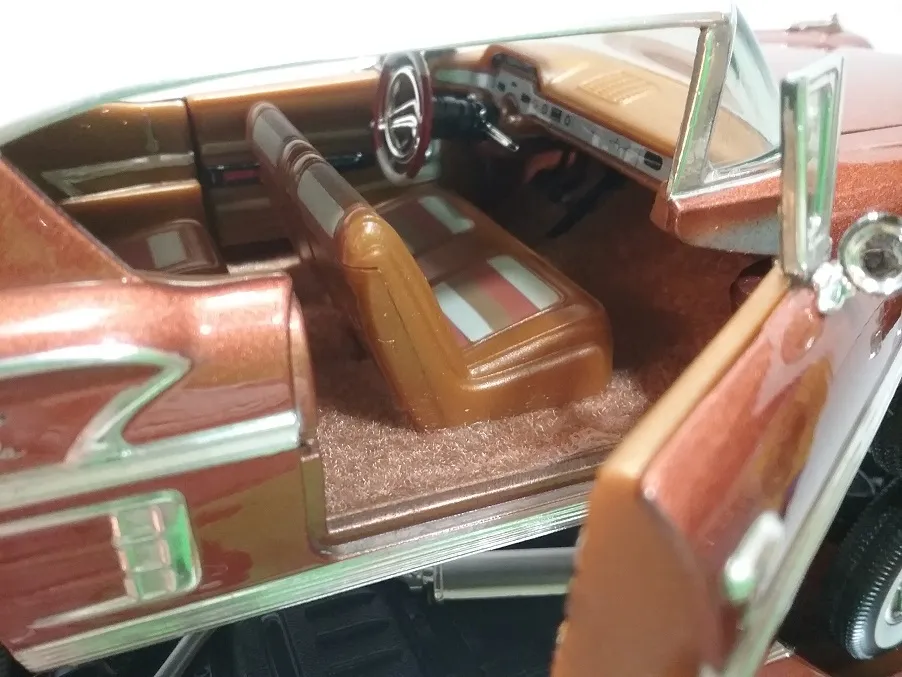
Airbrushing offers greater control and precision. It allows you to apply thin, even coats of paint and to create detailed effects. Spray cans are more convenient for beginners. When using spray cans, hold the can at a consistent distance from the model and move it in smooth, overlapping strokes. Airbrushing requires more practice but can produce a professional finish. Always work in a well-ventilated area and wear a respirator or mask to protect yourself from paint fumes.
Applying Decals and Markings
After painting, apply decals and markings to replicate the original details. Cut the decals from the sheet and soak them in water to loosen the adhesive. Apply the decals to the model surface using a decal setting solution to help them conform to the contours of the model. Use a soft cloth or cotton swab to remove any air bubbles. Once the decals are dry, apply a clear coat to seal them and protect them from damage. Consider the use of aftermarket decals, and be patient during this detailed process. (Image: diecast model finished.webp)
Reassembly and Final Touches
Reassembly is the final step. Carefully put the model back together, referring to your photographs and the original instructions. Take your time and make sure each part fits correctly before tightening screws. Adding final details, such as new tires or mirrors, will help bring your restored model to life.
Reassembling the Model
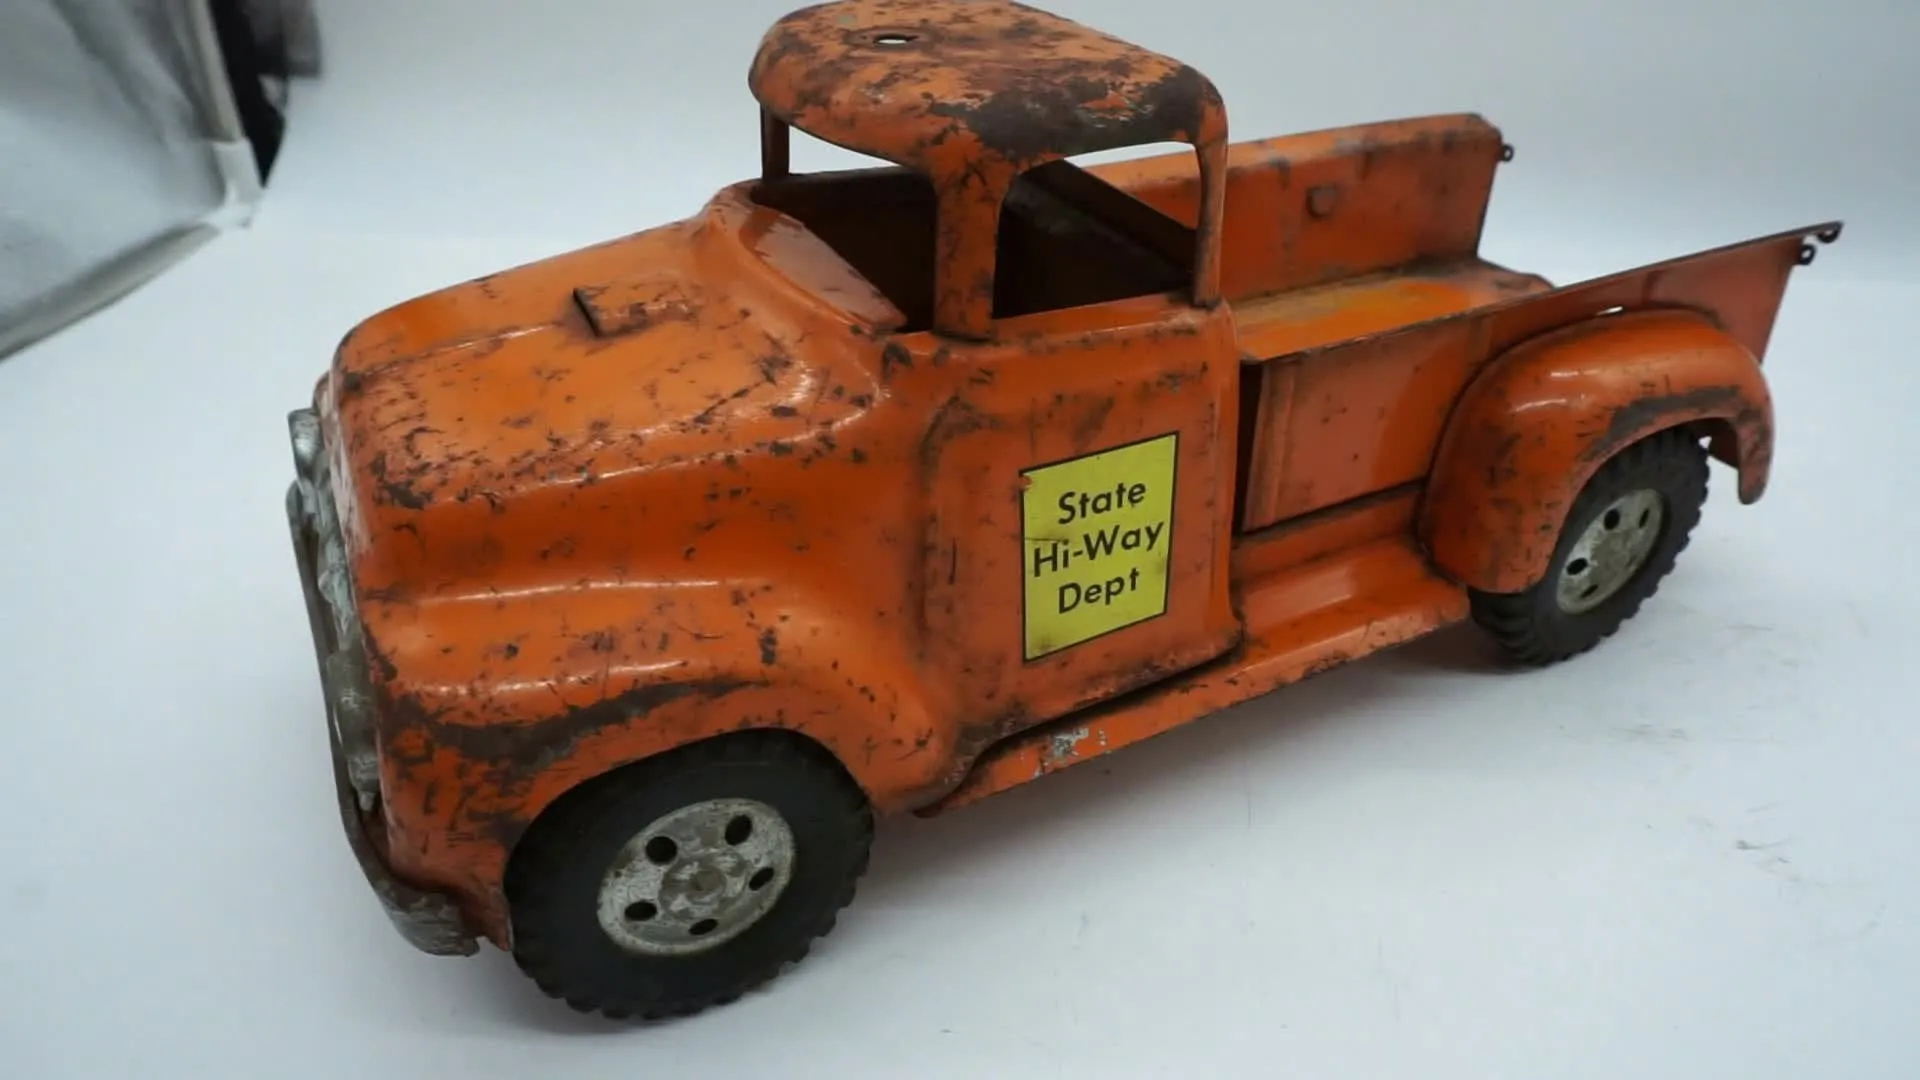
Carefully reassemble all the components of the diecast model, using your reference photos as a guide. Ensure that each part fits securely and correctly. Tighten screws gently to avoid stripping them. If any parts are difficult to fit, check for paint buildup or alignment issues and address them before forcing the parts together. This step requires patience and attention to detail. Don’t hesitate to test-fit parts before committing to full assembly. (Image: diecast model reassembly.webp)
Adding Final Details
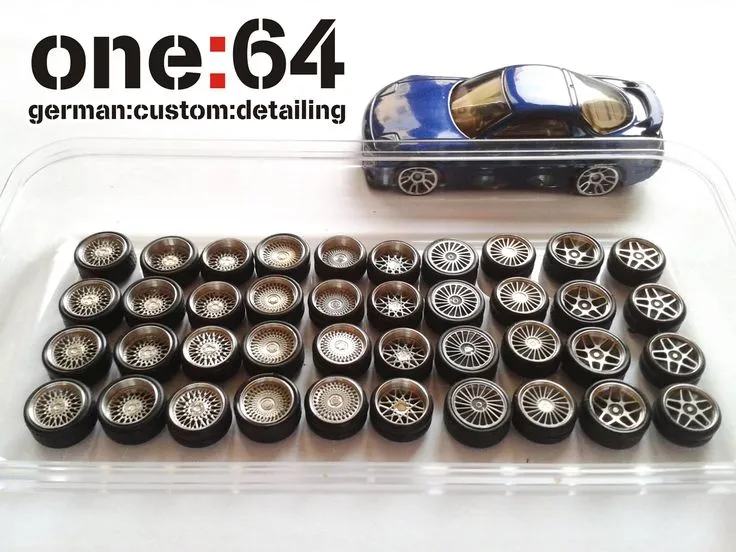
This is where you can add any additional details to enhance the final appearance. This may include replacing worn tires, adding new mirrors, or touching up any imperfections with paint. Consider detailing the interior of the model. Use weathering techniques (using washes and dry brushing) to add realism. These final touches will help make your model stand out. The goal is to return the model to its original appearance or to improve its look and enhance the value. Adding final details like a clear coat can protect all of your hard work.
Protecting Your Restoration
Protect your restored model from dust, sunlight, and other elements. Display the model in a dust-free display case. Consider applying a clear coat to the model’s surface to protect the paint from scratches and wear. Avoid placing the model in direct sunlight, as this can cause the paint to fade over time. Handle the model carefully and avoid touching the painted surfaces. Proper care will preserve your restoration for many years to come.
Common Problems and Solutions in Diecast Model Restoration
Restoring diecast models can present various challenges. Knowing how to address these problems can save you time and frustration. Here are a few common issues and their solutions.
Paint Runs and Blisters
Paint runs occur when too much paint is applied at once. To avoid this, apply thin, even coats of paint. If a run does occur, let the paint dry completely, sand the area smooth, and reapply the paint in thin coats. Blisters can occur when the paint is applied over a surface that isn’t clean or properly prepared. Ensure the surface is clean and primed before painting. If blisters appear, remove the paint, prepare the surface, and repaint. (Image: diecast-model-paint-blisters.webp)
Broken Parts
Broken parts are inevitable. If a small part breaks, try to repair it using super glue or epoxy. If the part is missing, you may be able to find a replacement online or from a model parts supplier. In some cases, you may need to fabricate a new part from scratch using plastic or metal. Take your time, be patient, and use reference photos to ensure accuracy when reassembling or repairing. Remember to always handle delicate parts with care.
Rust and Corrosion
Rust and corrosion are common on older diecast models. Use a rust remover or mild abrasive to remove rust. For severe corrosion, you may need to replace the affected parts. Clean the rust with appropriate solvents and tools, then apply a primer to prevent future corrosion. Consider applying a protectant to exposed metal parts to minimize the risk of future corrosion. If the damage is severe, you may need to find replacement parts or to get creative in the repair. (Image: diecast-model-rust.webp)
Restoring diecast models is a rewarding hobby that combines artistic skill, patience, and attention to detail. By following the steps outlined in this guide, you can breathe new life into these cherished collectibles. Remember to take your time, enjoy the process, and don’t be afraid to experiment. With practice, you can transform your vintage models into stunning showpieces. Happy restoring! (Image: diecast-model-finished.webp)
