What You Need to Polish Diecast Cars (Materials)
Polishing diecast cars can transform a dull model into a gleaming masterpiece. The right materials are essential for achieving a professional finish. Gathering the correct supplies before you start will make the process much smoother and more enjoyable. You’ll need a selection of items, each playing a vital role in the restoration and enhancement of your diecast car’s appearance. Ensure you have a well-ventilated workspace, good lighting, and a clean surface to work on. This will not only improve your results but also protect your model cars from any potential damage during the polishing process. Furthermore, having these materials ready ensures you’re prepared to tackle any imperfections and bring out the best in your collection.
Microfiber Cloths Importance
Microfiber cloths are indispensable for polishing diecast cars due to their gentle yet effective cleaning properties. Unlike traditional cloths, microfiber is specifically designed to trap dirt, dust, and debris without scratching the delicate surfaces of your models. Their ultra-fine fibers lift contaminants away, preventing them from being rubbed across the paintwork and causing damage. When selecting microfiber cloths, opt for a variety of types, including ones for cleaning, polishing, and waxing. Using separate cloths for each stage of the process is crucial to avoid cross-contamination, ensuring that you get the best possible finish. The soft, non-abrasive nature of microfiber makes it ideal for use on diecast cars, preserving the paint and enhancing the overall shine.
Polishing Compounds Types
Polishing compounds are designed to remove imperfections and restore the gloss of your diecast cars. There are different types of polishing compounds available, each with a specific level of abrasiveness. Compounds come in varying grades, from heavy-cut for removing severe scratches to fine-cut for achieving a high-gloss finish. When selecting a polishing compound, consider the condition of your diecast car’s paint. For minor scratches and swirl marks, a fine-cut compound may suffice. For deeper imperfections, you might need to start with a more aggressive compound and then finish with a finer one. Always follow the manufacturer’s instructions and test the compound on a small, inconspicuous area of the model first to ensure compatibility and prevent any adverse effects. Experimenting with different types of polishing compounds will help you achieve the perfect shine.
Wax for Diecast Cars
Wax is crucial for protecting and enhancing the finish of your polished diecast cars. It provides a protective layer that shields the paint from environmental contaminants, UV rays, and minor scratches. There are different types of waxes available, including carnauba wax and synthetic waxes. Carnauba wax is a natural product known for its deep gloss and warm glow, while synthetic waxes offer greater durability and protection. When choosing a wax, consider the level of protection and the desired appearance you want to achieve. Applying wax after polishing will lock in the shine and provide an additional layer of defense. Ensure the wax is specifically designed for automotive finishes to avoid any damage to your diecast models. Applying wax regularly will help to preserve the luster and value of your diecast car collection.
Preparing Your Diecast Car for Polishing
Before you begin polishing, thorough preparation is key to achieving optimal results. Start by gathering all the necessary materials. Then, inspect the diecast car for any existing damage or imperfections. Examine the paintwork closely, looking for scratches, swirl marks, or dullness. This assessment will help you determine the appropriate level of polishing needed. A clean workspace and good lighting are essential for spotting these imperfections. Once you’ve assessed the car, you’re ready to move on to the cleaning process. Proper preparation ensures the polishing compound can work effectively and that the final finish is flawless. Taking the time to prepare your diecast car will result in a much better outcome.
Cleaning the Diecast Car Surface
Cleaning your diecast car is the first and most crucial step in preparing it for polishing. Start by gently removing any loose debris or dust with a soft microfiber cloth. Avoid applying excessive pressure, as this could scratch the paint. For more stubborn grime, use a mild soap solution specifically designed for automotive finishes. Lightly dampen a microfiber cloth with the soapy water and carefully wipe down the surface of the car. Rinse the cloth frequently to prevent spreading dirt. After washing, thoroughly dry the diecast car with a clean, dry microfiber cloth. Ensure that all surfaces are completely dry before moving on to the polishing stage. Proper cleaning removes contaminants that could interfere with the polishing process and ensures a smooth, even finish.
Removing Any Existing Imperfections
Once the diecast car is clean, address any imperfections that may be present. This includes scratches, swirl marks, and other blemishes that detract from the car’s appearance. Depending on the severity of the damage, you may need to use different levels of polishing compounds. For minor scratches, a fine-cut compound may be sufficient. Apply the compound to a polishing pad or microfiber cloth and gently rub it onto the affected area. For deeper scratches, start with a more aggressive compound and gradually work your way up to a finer grade. Always work in small sections and use light pressure to avoid causing further damage. After each pass, wipe away the residue with a clean microfiber cloth. The goal is to level the paint surface and remove the imperfections, restoring a smooth, even finish.
The Polishing Process Step by Step
With the diecast car prepared, it’s time to begin the polishing process. This involves applying the polishing compound, working it into the paint, and then buffing the surface to a brilliant shine. There are several key steps to follow to ensure a professional-looking finish. Working methodically and carefully will yield the best results. Take your time, and don’t rush the process. Polishing requires patience and precision to avoid causing any damage to your diecast car. By following these steps, you can transform a dull model into a stunning showpiece. Remember, the goal is to restore the paint’s luster and remove any imperfections, bringing out the best in your diecast car’s appearance. Following these steps is the path to a showroom finish.
Applying the Polishing Compound
Applying the polishing compound correctly is crucial for achieving an even and effective finish. Start by selecting the appropriate compound based on the condition of your diecast car’s paint. Place a small amount of the compound onto a polishing pad or directly onto a clean microfiber cloth. If using a machine polisher, apply the compound to the pad and spread it evenly across the surface. When applying by hand, work in small sections, such as a panel at a time. Use a gentle, circular motion, and avoid applying too much pressure. The goal is to spread the compound evenly across the paint. Too much compound can make the process messy, while too little may not provide enough lubrication. Ensure complete coverage for the best results.
Polishing the Surface
Once the polishing compound is applied, it’s time to start polishing the surface. Whether you’re working by hand or using a machine polisher, use a consistent technique to ensure even results. For hand polishing, use a circular motion and apply light to moderate pressure. Work in small sections, overlapping each pass to ensure complete coverage. If using a machine polisher, start at a low speed and gradually increase it as needed. Keep the pad flat against the surface and move it slowly and steadily. As you polish, the compound will begin to break down, and you’ll notice the paint’s appearance starting to improve. Pay attention to the areas where the paint may be more damaged, and spend a little extra time on those spots. Remember to wipe away the residue with a clean microfiber cloth after each pass to check your progress.
Waxing and Sealing the Diecast Car
After polishing your diecast car, the final step is to protect and enhance the finish with wax or a sealant. Waxing provides a protective layer that shields the paint from environmental factors, UV rays, and minor scratches. It also adds depth and shine to the paint, making it look even more impressive. Sealing the paint with a high-quality wax will help to lock in the shine and provide an extra layer of defense. This is the crucial step that ensures your car’s shine lasts. Choosing the right wax is also important, considering factors like the type of paint and the desired level of protection and shine. Waxing and sealing will ensure your hard work on polishing is not undone and your diecast car remains in great shape.
Wax Application
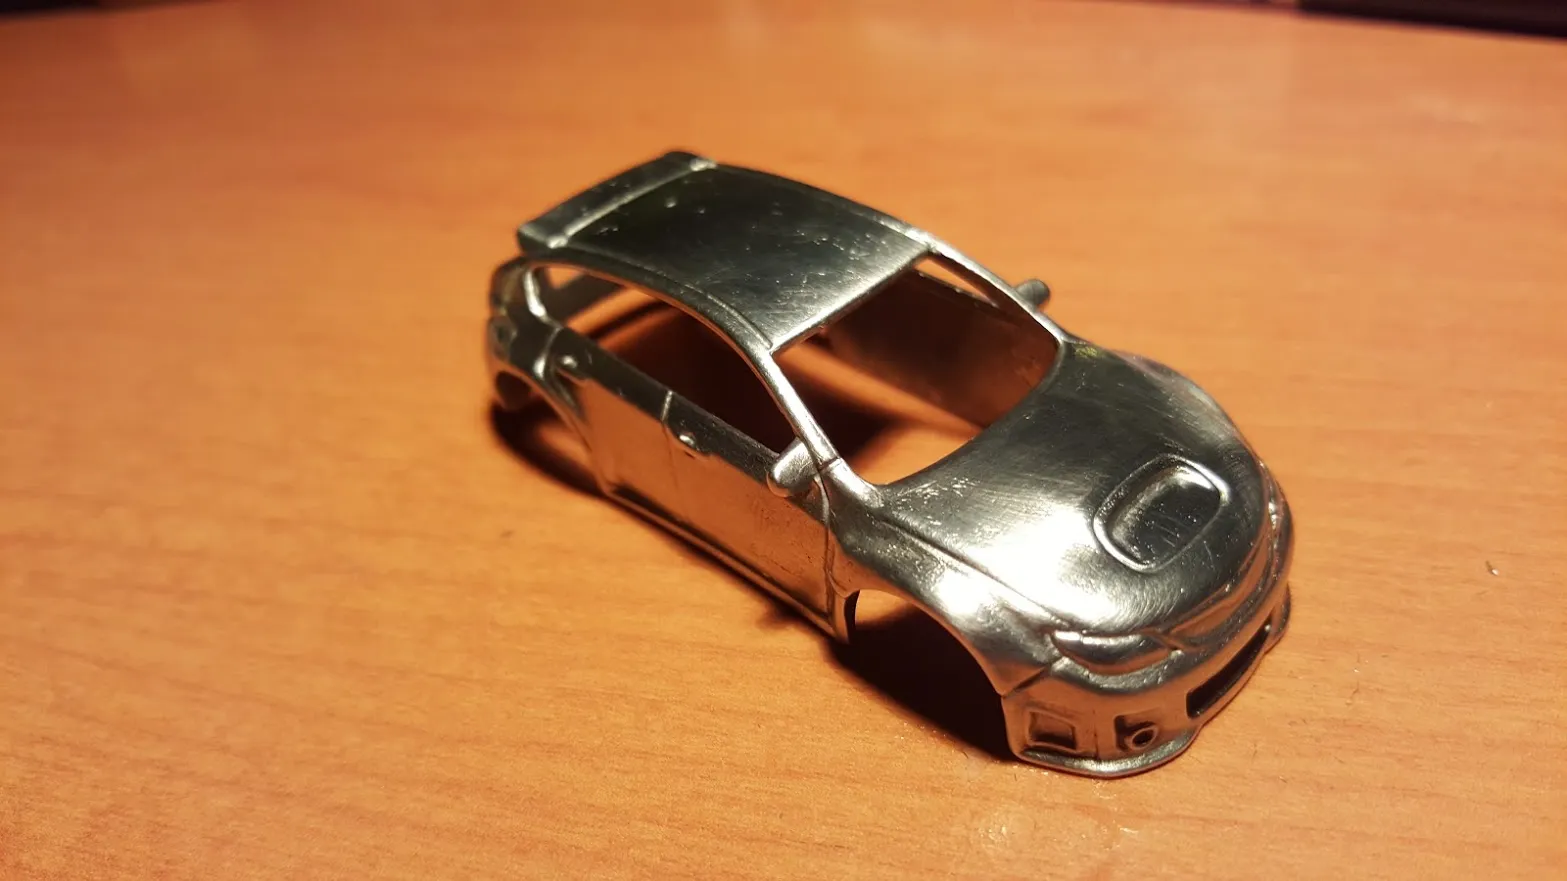
Applying wax to your diecast car is a simple yet important step. Start by ensuring the surface of the car is clean and dry after polishing. Apply a thin, even layer of wax using a clean microfiber applicator pad. Work in small sections, such as a panel at a time, to ensure even coverage. Avoid applying too much wax, as this can make it difficult to remove. Allow the wax to dry according to the manufacturer’s instructions, typically 10 to 20 minutes. Once the wax has dried, gently buff the surface with a clean microfiber cloth to remove any residue and reveal a brilliant shine. The goal is to create a protective layer that enhances the car’s appearance. Consistent waxing will ensure your diecast cars retain their luster for years to come.
Sealing the Paint
Sealing the paint on your diecast car offers an additional layer of protection. Paint sealants are synthetic products designed to create a durable barrier against environmental contaminants and UV rays. Applying a paint sealant after waxing will extend the life of the protection and enhance the overall shine. To apply a paint sealant, follow the manufacturer’s instructions carefully. Usually, this involves applying a thin layer with a microfiber applicator pad and allowing it to cure for the recommended time. Once the sealant has cured, buff the surface with a clean microfiber cloth to remove any residue. The result is a glossy, protected finish that will keep your diecast car looking its best. Sealing your diecast cars will add years to their life.
Maintaining Your Polished Diecast Car
Once you have polished and waxed your diecast car, proper maintenance is crucial to preserve its appearance and protect your investment. Regular cleaning, proper storage, and avoiding harsh chemicals will keep your models looking their best. Taking good care of your diecast cars will prevent damage and maintain their value. This is a long-term commitment that ensures your models are protected and look fantastic for many years to come. Keeping your diecast cars in top condition ensures they remain a source of pride.
Regular Cleaning

Regular cleaning is essential for maintaining the shine and protecting your polished diecast cars. Dust and debris can accumulate on the surface, potentially scratching the paint over time. Gently dust your models regularly with a soft microfiber cloth to remove any loose particles. For more thorough cleaning, use a mild soap solution designed for automotive finishes. Lightly dampen a microfiber cloth with the soapy water and gently wipe down the surface of the car. Avoid using harsh chemicals or abrasive cleaners, as these can damage the paint. Always dry your diecast car thoroughly with a clean microfiber cloth after cleaning. Regular cleaning will prevent the buildup of dirt and contaminants. Routine maintenance keeps the models looking fantastic.
Storage Tips
Proper storage is crucial for protecting your diecast cars from environmental factors and physical damage. Store your models in a clean, dry environment away from direct sunlight and extreme temperatures. Excessive heat or cold can damage the paint and other components. Consider using display cases or storage boxes to protect your models from dust and scratches. Make sure that your storage area is free from chemicals. Avoid storing your diecast cars in areas where they can be easily knocked over or damaged. When handling your models, always hold them by the base or chassis to avoid leaving fingerprints or causing accidental scratches. Taking good care of how you store your collection will help maintain its value and appearance. Careful storage ensures your diecast cars last a lifetime.
