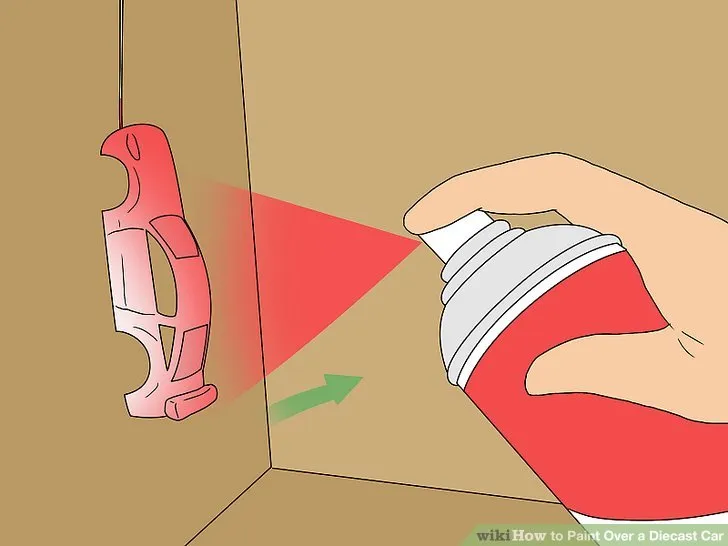
Preparing Your Diecast Aluminium for Painting
Painting diecast aluminium cars can be a rewarding hobby, transforming ordinary models into stunning collectibles. The key to a professional finish lies in meticulous preparation. This initial stage ensures that the paint adheres properly, resulting in a smooth, durable, and visually appealing final product. Proper preparation involves several crucial steps, each contributing to the overall success of your painting endeavor. Failing to prepare the surface adequately can lead to paint peeling, bubbling, or an uneven finish, ultimately detracting from the model’s appearance. Investing time in preparation is an investment in the quality of your finished model, so don’t skimp on this step.
Cleaning the Diecast Model
Before you start painting, thoroughly clean the diecast model. This removes any dust, dirt, grease, or oils that might interfere with paint adhesion. Use a mild soap solution and warm water, and gently scrub the surface with a soft brush. Rinse the model thoroughly and allow it to dry completely. Pay special attention to crevices and hard-to-reach areas where grime tends to accumulate. A clean surface is the foundation for a successful paint job. Failing to clean the model properly can cause the paint to bubble or peel. Make sure to use a clean cloth, or soft brush, and avoid any harsh chemicals that could damage the diecast material.
Disassembly and Preparation
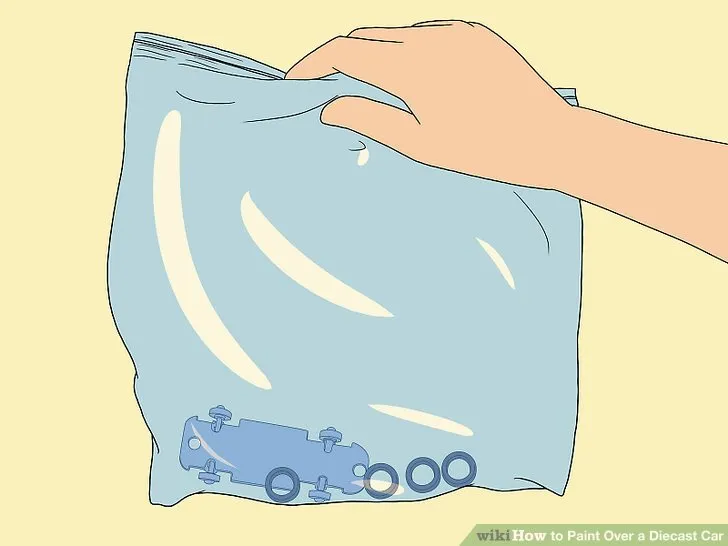
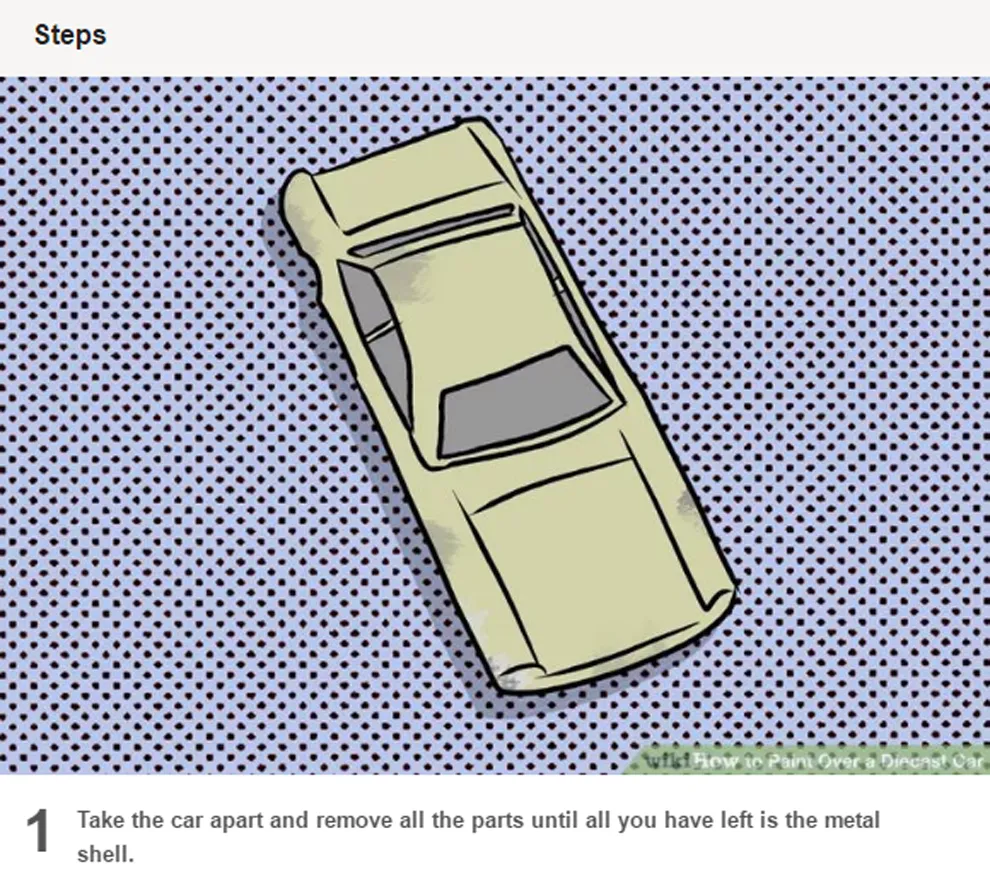
Disassemble the diecast model as much as possible. This provides access to all surfaces and allows for a more even and thorough paint application. Carefully remove any parts that can be detached, such as wheels, windows, and interior components. Take photos during disassembly to help you reassemble the model correctly. After disassembling, inspect the model for any imperfections like mold lines or flash. Use a hobby knife or fine-grit sandpaper to remove any imperfections, ensuring a smooth surface. Store disassembled parts carefully to avoid losing them. Having all parts readily accessible and organized will streamline the painting process and improve the final result of your diecast aluminium model. The cleaner the environment, the better your result.
Sanding the Surface
Lightly sand the entire surface of the diecast model. This creates a slightly rough texture that the primer and paint can grip onto. Use fine-grit sandpaper (around 400-600 grit) and sand in a consistent direction. Avoid applying excessive pressure, as this can damage the model’s details. Pay attention to any areas that might be difficult to reach. After sanding, wipe the model clean with a tack cloth or a slightly damp cloth to remove any sanding dust. Sanding is crucial for paint adhesion. Without it, your paint will likely chip or peel off over time, so make sure to do a full once-over. This is one of the most important steps in the entire process. The sanding should be consistent and without too much pressure to avoid damaging the aluminum.
Priming the Diecast Aluminium
Priming is a critical step in the painting process. The primer acts as a bonding agent, promoting adhesion between the metal surface and the paint. It also provides a uniform surface for the paint to adhere to, which results in a smoother and more even finish. Priming helps fill in minor imperfections, creating a flawless surface for the final paint coat. Use a suitable primer specifically designed for metal surfaces. The primer prevents corrosion, ensuring your paint job lasts. Choose a primer color that complements your desired paint color. Remember that proper priming ensures your model car looks fantastic for years to come. Use a well-ventilated area, and follow all safety precautions when using primer.
Choosing the Right Primer
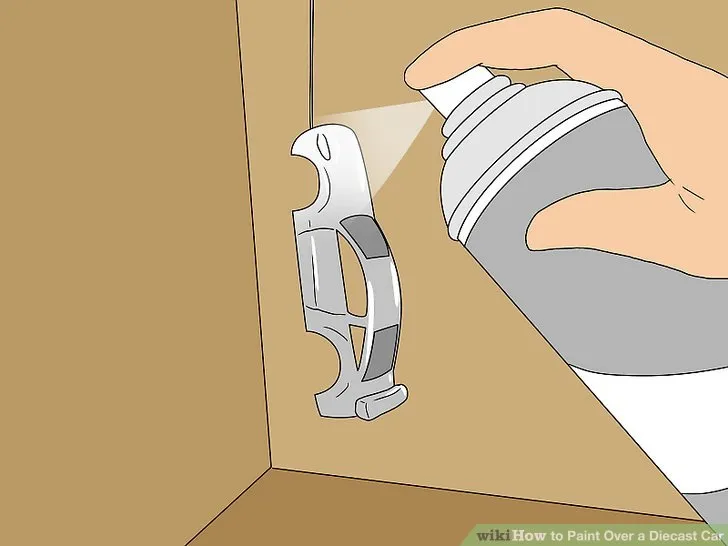
Select a primer specifically designed for use on metal surfaces. Automotive primers or those intended for model painting are good choices. Consider the color of your final paint coat when choosing a primer color; a gray primer works well for darker colors, while a white or light-colored primer is better for lighter shades. Make sure the primer is compatible with the type of paint you plan to use (e.g., acrylic, enamel). Read the manufacturer’s instructions on the primer to ensure proper application and drying times. Using the wrong primer can lead to adhesion problems. Look for primers that offer excellent coverage and adhesion, specifically for diecast models. High-quality primer results in a better outcome.
Applying the Primer
Apply the primer in thin, even coats. Hold the spray can or airbrush at a consistent distance from the model (usually 6-8 inches). Avoid applying too much primer at once, as this can lead to runs and drips. Allow each coat to dry completely before applying the next. Usually, two to three thin coats of primer will provide adequate coverage. After the primer has dried completely, lightly sand the surface with very fine-grit sandpaper (800-1000 grit) to remove any imperfections. Clean the model thoroughly after sanding. Proper application is crucial for a smooth finish. Make sure the surface is completely primed. Consider several thin coats rather than a single thick coat. This way you ensure there are no drips, and a smooth result.
Painting Your Diecast Aluminium Car
Once the primer has dried and been lightly sanded (if necessary), you can begin painting your diecast aluminium car. Choosing the right paint and applying it carefully is essential for achieving a professional-looking finish. This stage is where you bring your vision to life. From selecting the perfect color to applying multiple coats, precision and patience are key. Take your time and focus on achieving an even and smooth paint layer. Prepare your workspace, ensuring adequate ventilation. Use a well-lit area and protect your work surface from paint overspray. Before you start, make sure you have all the necessary equipment, including paint, thinner (if required), a spray gun or aerosol can, and any detail brushes you might need.
Selecting Your Paint
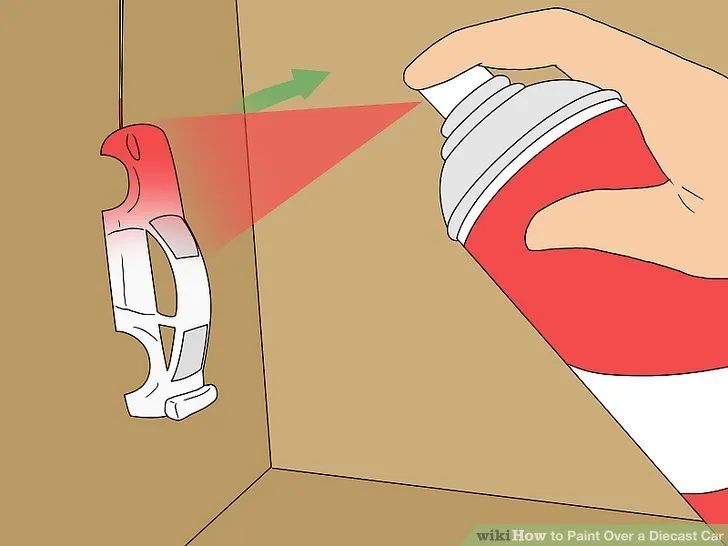
Choose a paint specifically designed for model cars or automotive use. Acrylic lacquers and enamels are popular choices, offering excellent color options and durability. Consider the finish you desire (e.g., gloss, matte, metallic) and select a paint accordingly. Metallic paints require a base coat to achieve the desired effect. Ensure the paint is compatible with the primer you used. Carefully research and select your color, since the color choice is a major part of your final design. Read reviews and consider the reputation of the paint brand. Always test the paint on a small, inconspicuous area of the model to check for color accuracy and compatibility with the primer before painting the entire model. Quality paint is an investment.
Applying the Base Coat
Apply the base coat in thin, even layers. Hold the spray can or airbrush at the recommended distance from the model. Start with a light coat and gradually build up the color. Avoid applying too much paint at once, as this can lead to runs or drips. Allow each coat to dry completely before applying the next. The number of coats required will depend on the paint and the desired finish. Two to three thin coats are usually sufficient. Focus on achieving a smooth, even coverage across the entire surface. Apply the first coat lightly to provide a base for the following coats. Make sure your base coat is free of any imperfections and completely dry before you start working on the next step. This will provide a better look.
Applying Multiple Coats
After the base coat has dried, apply additional coats as needed to achieve the desired color and coverage. Allow each coat to dry completely before applying the next. Lightly sand with very fine-grit sandpaper (1000-1500 grit) between coats if any imperfections appear. This will help to create an even smoother surface. Inspect the paint for any imperfections, such as runs, drips, or dust particles. If imperfections are found, gently sand the area and reapply the paint. The goal is to achieve a smooth, even, and flawless paint finish. Multiple coats are necessary to achieve the best results. Apply the coats evenly to eliminate imperfections. This will also provide a better look in the end.
Adding Details and Decals
Once the base coat is completely dry, you can begin adding details and decals to your diecast model. Use fine-tipped brushes and detail paints to add accents, such as trim, badges, and interior details. Apply decals carefully, using decal setting solution to help them conform to the model’s surface. Use a hobby knife to trim any excess decal material. Allow the details and decals to dry completely before moving on to the next step. This will give your model its unique appearance. Patience is important for this stage, as precision and attention to detail are key. If you are not skilled with details, you can skip these steps. Detail work can drastically increase the realism of your model, so it is worth it.
Protecting Your Paint Job
After you’ve painted your diecast aluminium car, you’ll want to protect your paint job. A clear coat provides a protective layer that shields the paint from scratches, UV rays, and other environmental factors. This step is crucial for preserving the paint’s appearance and ensuring that your model stays looking its best for years to come. The clear coat enhances the gloss or matte finish, depending on the type you choose. Applying a clear coat is the final step. Choosing the right clear coat and applying it correctly will preserve your hard work. Protect your model from scratches, UV rays, and environmental factors with the right product. The clear coat is the final protective layer.
Applying a Clear Coat
Choose a clear coat that is compatible with the paint you used. Acrylic lacquers and enamels are common choices. Apply the clear coat in thin, even coats, just as you did with the base coat. Allow each coat to dry completely before applying the next. The number of coats required will depend on the clear coat and the desired level of protection. Two to three thin coats are usually sufficient. Avoid applying too much clear coat at once, as this can lead to runs or drips. Carefully inspect the surface after each coat to ensure a smooth, even finish. Apply the clear coat in a well-ventilated area, following all safety precautions. Be patient while applying the clear coat, and let each layer dry completely before the next. The clear coat can make or break the final result.
Polishing and Finishing
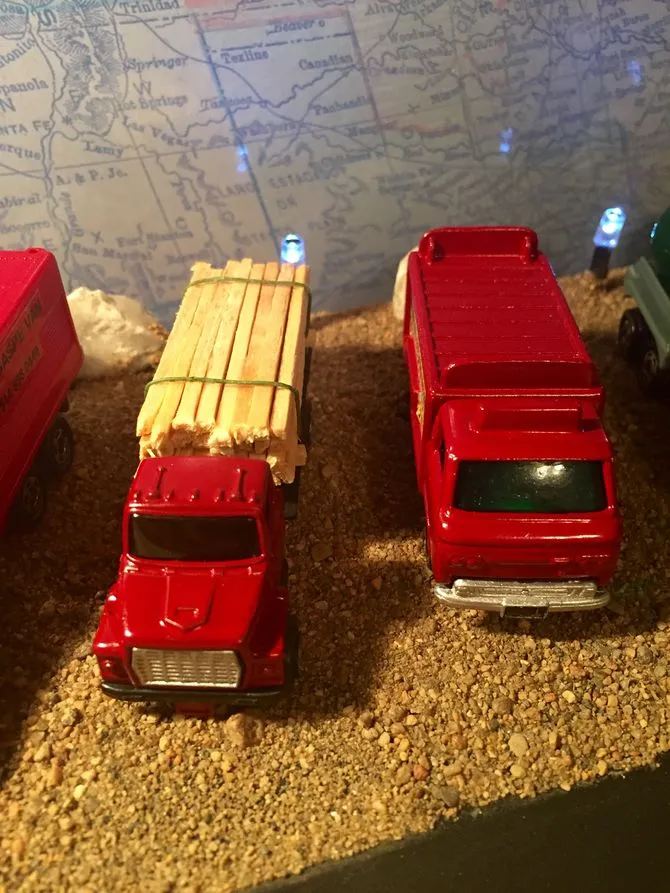
Once the clear coat has dried completely, you can polish and finish your diecast model. This step enhances the shine and smoothness of the paint finish. Use a polishing compound and a soft cloth to gently polish the surface. Pay attention to areas that might have minor imperfections. Follow the manufacturer’s instructions for the polishing compound. After polishing, you can apply a wax to further protect the paint and enhance the shine. Reassemble any parts that were removed during disassembly. Inspect the model carefully for any remaining imperfections. Congratulations! You’ve completed the process of painting your diecast car. This is the last step in the process of painting your diecast model. After all the steps you have already performed, you are at the finish line.
